Part Two
 If you joined us for part one of “Accelerating Vibratory Deburring”, you understand vibratory deburring and the significant impact that low media levels can have on productivity. Today, we’re continuing our series by revisiting the fundamentals of setting up your vibratory bowl. This information will also be valuable if you’ve relocated your finishing unit, acquired a new or used vibratory bowl, or suspect that your setup wasn’t initially done correctly. We’ll guide you through the steps to ensure your machine is properly set up and optimized.
Need Assistance With Process Development?
At Rodeco, we offer complimentary process development services tailored to your specific needs. Our team will work closely with you to find the most cost-effective and efficient methods for achieving your desired finish.
Let’s Chat about what you need and how we can make it happen.
Call us at 919-775-7149
How Do I know if My Bowl is Improperly Set Up?
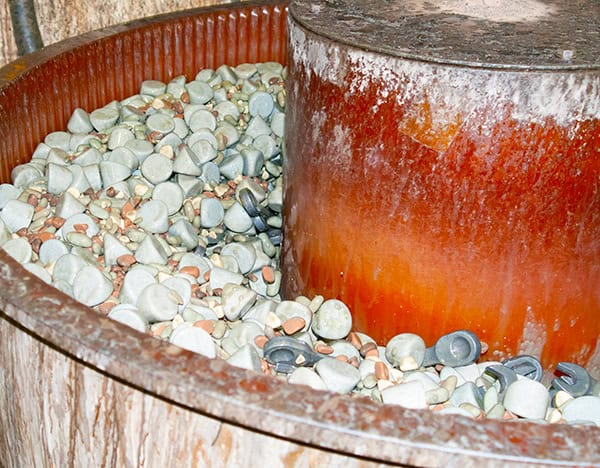
An experienced mass finishing operator can easily spot issues with a running bowl, while those less familiar with the process (who often call vibe media “rocks”) may have difficulty recognizing problems or mistakenly assume the machine is working correctly. This can impact both the speed of your process and the quality of your parts. If your tumbler is using the correct amount of media (as covered in our previous blog), here are a few critical areas to examine more closely.
Pre-Process Indicators of an Issue:
Quick Tip – Place a handful of media on the top weight cover (middle of bowl) and ensure the media migrates to the center (if moves towards the edge you may have to correct motor rotation).
If you notice one or both of these issues, it’s important to troubleshoot your vibratory finisher promptly. Before making any adjustments, always adhere to all safety guidelines and lockout/tagout procedures to ensure a safe working environment. For complex issues or if you’re unsure, it’s highly recommended to contact your maintenance department for expert assistance in resolving the problem or contact Rodeco 800-849-0871 and set up a service assessment.
(Note: Once your weight segments are properly set and the finisher is functioning correctly, avoid making any adjustments unless a new process necessitates it.)
If you’ve followed the process development steps to verify that you have the correct media, compound, and equipment for your desired finish, and have adhered to the setup procedures, your machine should consistently produce the approved finish. However, if any changes arise in your pre-finishing process—such as variations in the starting condition of your parts or a different part number —it’s crucial to address them promptly. The vibratory process treats each part uniformly, ensuring a consistent finish if the parts start with consistent conditions.
Achieve Success with the Rodeco Process Development Lab
Ensuring your vibratory bowl is set up correctly is crucial for maximizing productivity and achieving optimal results. In part one of “Accelerating Vibratory Deburring,” we explored the importance of maintaining proper media levels. Building on that, today’s guide delves into the fundamentals of setting up your vibratory bowl, which is essential whether you’re working with a new or used unit, or have relocated your finishing system. Before diving into setup, it’s essential to begin with process development to ensure you have the right media and compound for efficient processing. Fortunately, you don’t have to invest extensive time, money, and resources into this development yourself—Rodeco provides a free process development lab to serve as your R&D department. Reach out to Rodeco to discuss your finish requirements, and set up a test of your parts at 800-849-0871
Need to replenish your media supplies?
We carry a large supply of media that is ready to ship out today.
Call us at 919-775-7149
or visit Blast Media to find out more.
